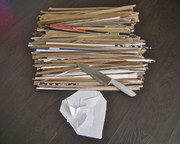
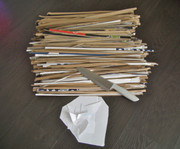
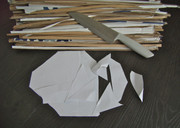
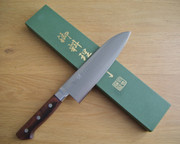
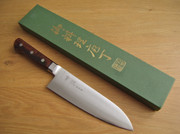
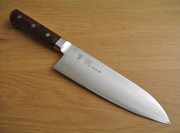
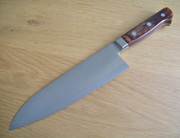
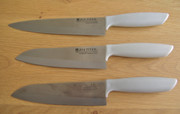
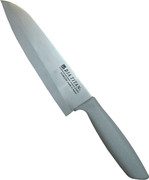
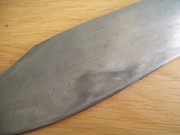
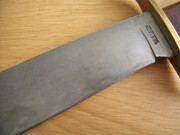
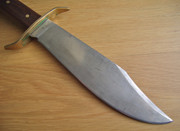
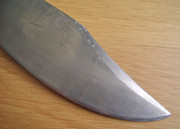
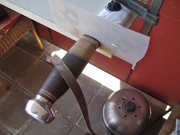
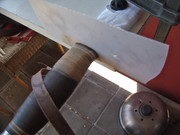
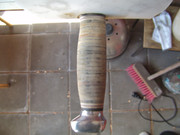
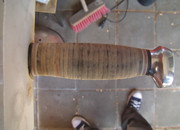
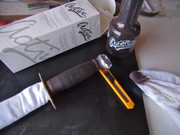
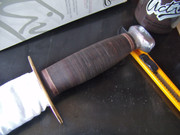
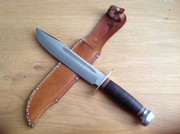
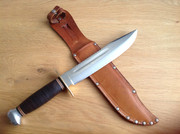
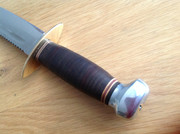
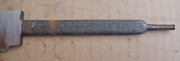
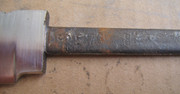
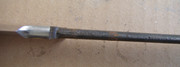
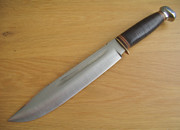
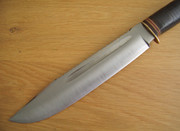
Besides several knives i received from Forever Japan for testing i also got this pair of ceramic scissors.
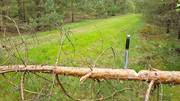
Someone i know who makes custom swim wear & ballroom clothing for a living is going to use it for a while, and any feedback i get from her will be posted in this thread.
If no massive chipping or breakage occurs during that time i might even try to resharpen it later on.
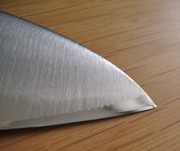
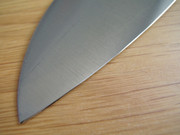
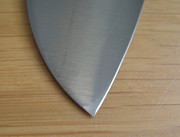
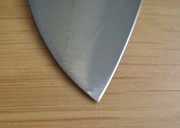
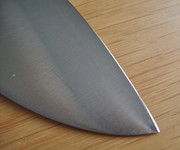
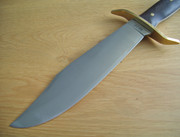
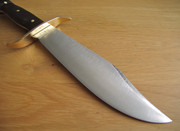
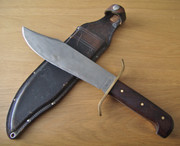
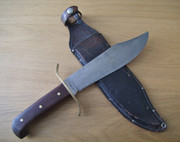
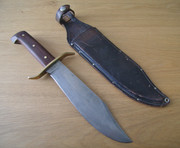
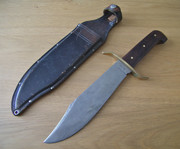
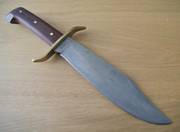
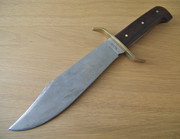
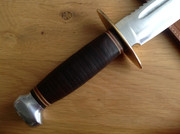
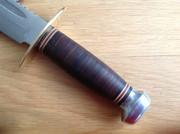
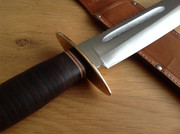
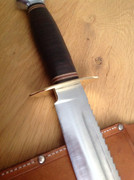
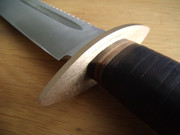
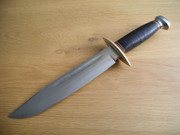
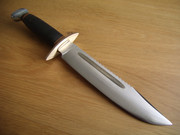
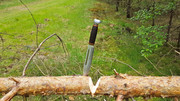
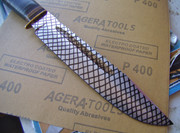
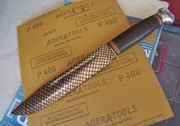
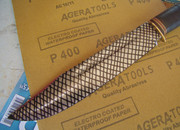
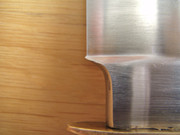
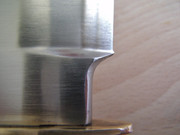
You can click 2 X on each pic for more detail.


Text from the Forever website:
" FOREVER ceramic scissors are available in 3 blade sizes – 50mm, 60mm and 80mm – and in both white and black blades.
Ceramic scissors are lightweight, handy, easy to clean and will never rust.
These scissors are suitable as kitchen/household scissors and for use in more specialist applications.
Kitchen/household scissors
Can be used to cut lettuce, herbs and meat.
Ceramic is a chemically inert material – it will not cause food to turn brown or leave a metal smell, maintaining the appearance and natural odor of food.
Also suitable for cutting food wrapping and other plastic packaging or as general household scissors.
Kevlar and other fabrics
Kevlar fabrics and other fibers soon cause steel scissors to become blunt but FOREVER ceramic scissors can cut such materials while still retaining their sharpness over a long period.
Since ceramic is non-magnetic, these scissors can be used to cut magnetic media without causing damage or contamination."
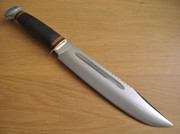
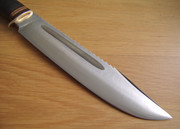
Specs:
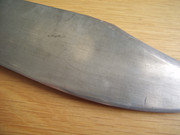
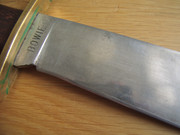
Overall length : 8.66 inch (22,0 cm)
Sharpened edge length: 3.27 inch (8,3 cm)
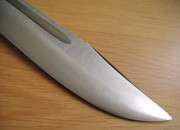
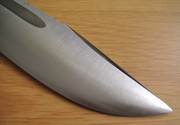
Material: high density white ceramic made from zirconium oxide powder
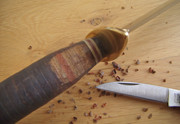
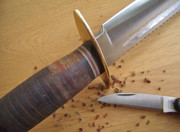
Handle material: black plastic
Weight: 86 grams
More info: http://forever-k.com/en/ceramic/